How to Create a Form
Note: Make sure to always test your forms after creating or editing it.
1. Go to your dashboard in the backend of Morweb and click inTOUCH > Contacts
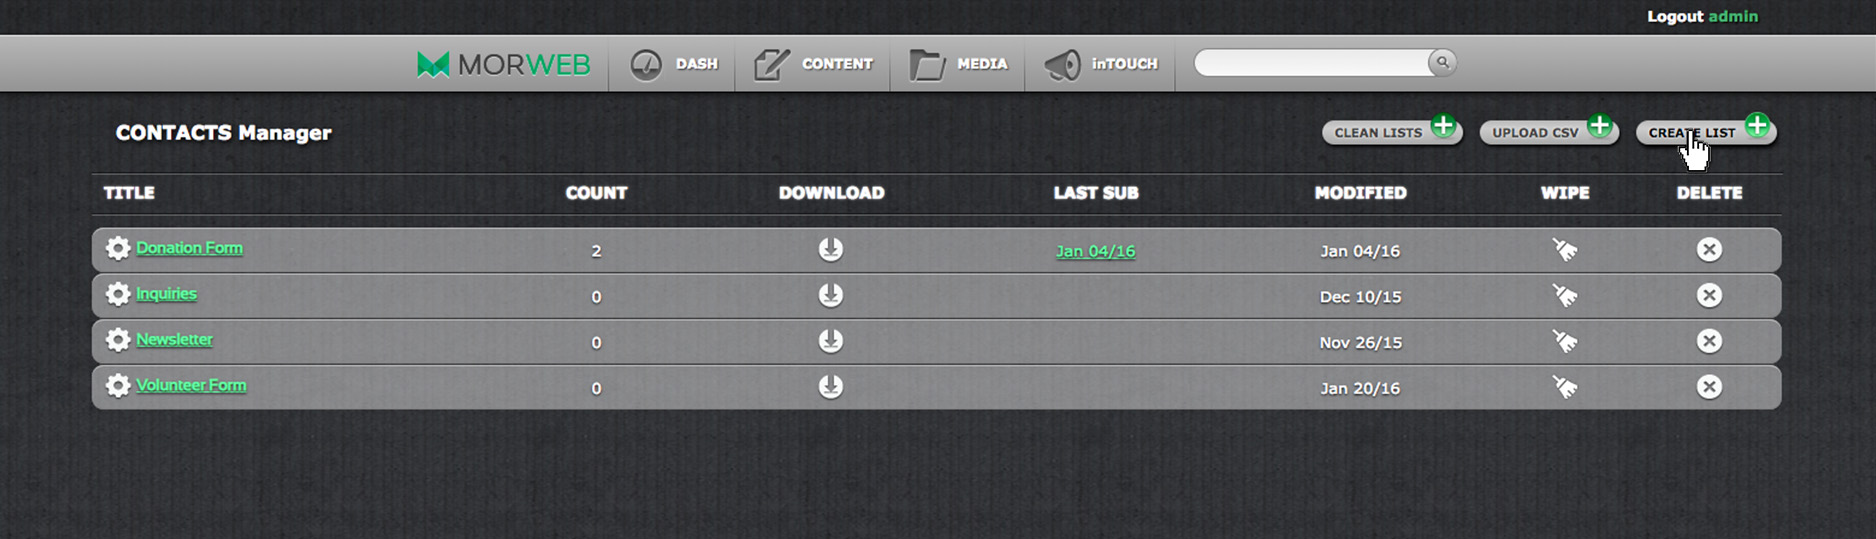
2. To create a new form, click 'Create List'
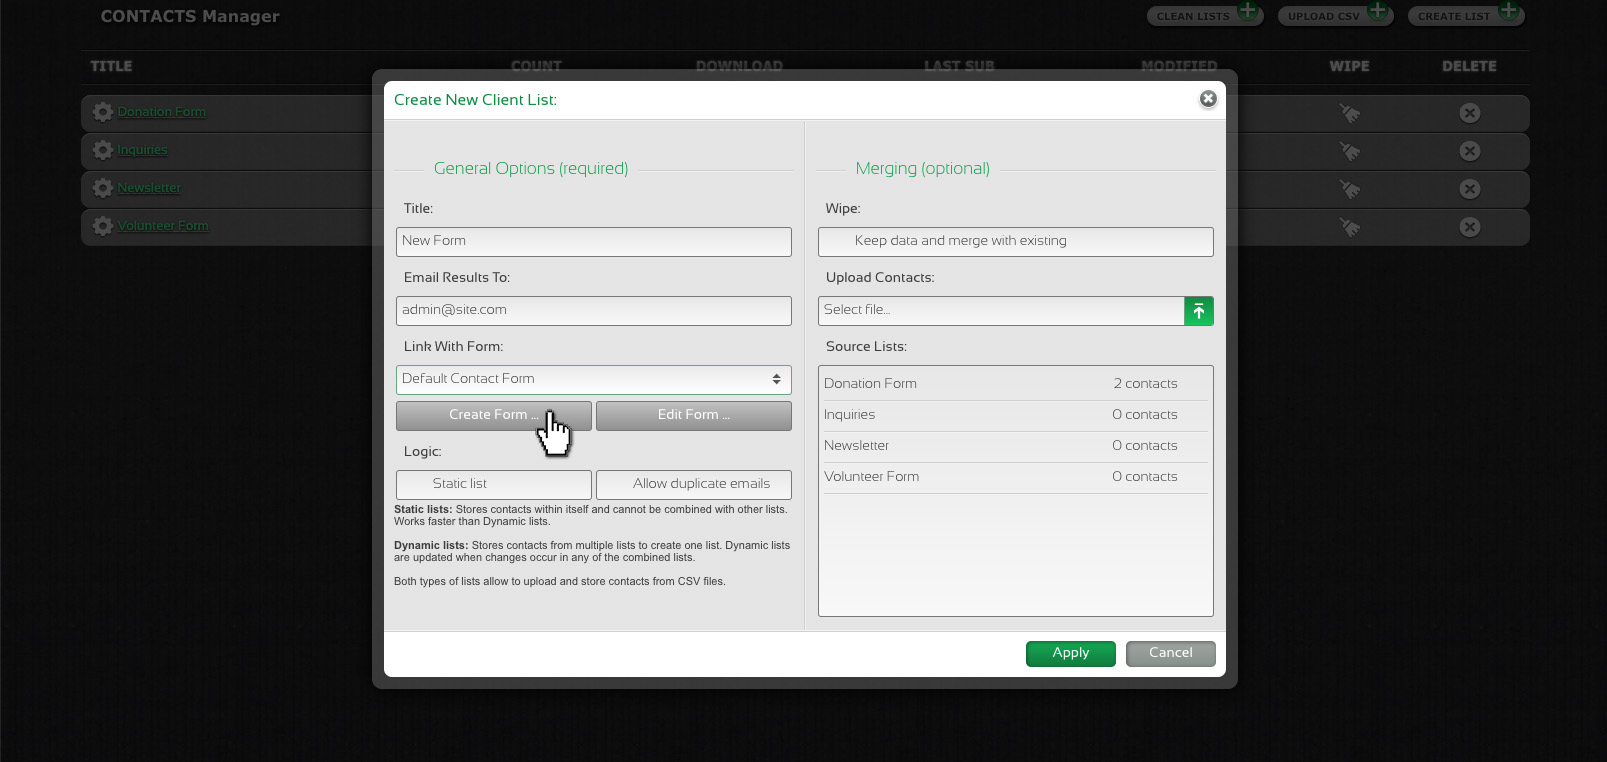
3. Fill out the fields in the editor. Add a title for the form and an email to send the form submissions to
4. Click 'Create Form'
5. Drag the different form field types to the center screen and drop them on the highlighted green line.
Text
For answers with one line of text
Textarea
For answers with several lines of text
Select
Dropdown menu of options to choose from
Radio
For buttons of answers to select eg) Yes, No
Checkbox
A checkbox to click
Note: Write 'Required' or 'isCheckbox' under form validations
Button
To submit the form
Captcha
To add another layer of security to your form
Divider
A line to go between different sections of the form
- Label: That is the text that displays on the form field. eg) Name
- Name: This is for internal use only. Add a "_" between words. Keep the name under 14 characters long. eg) full_name
- Validations: If you have a required field on your form, you can make it mandatory by typing "required".
- Default Value: This is optional, the default value is what will show if they don't fill out the field.
- Input type: Select 'Text' or 'Password' to indicate the type of field.
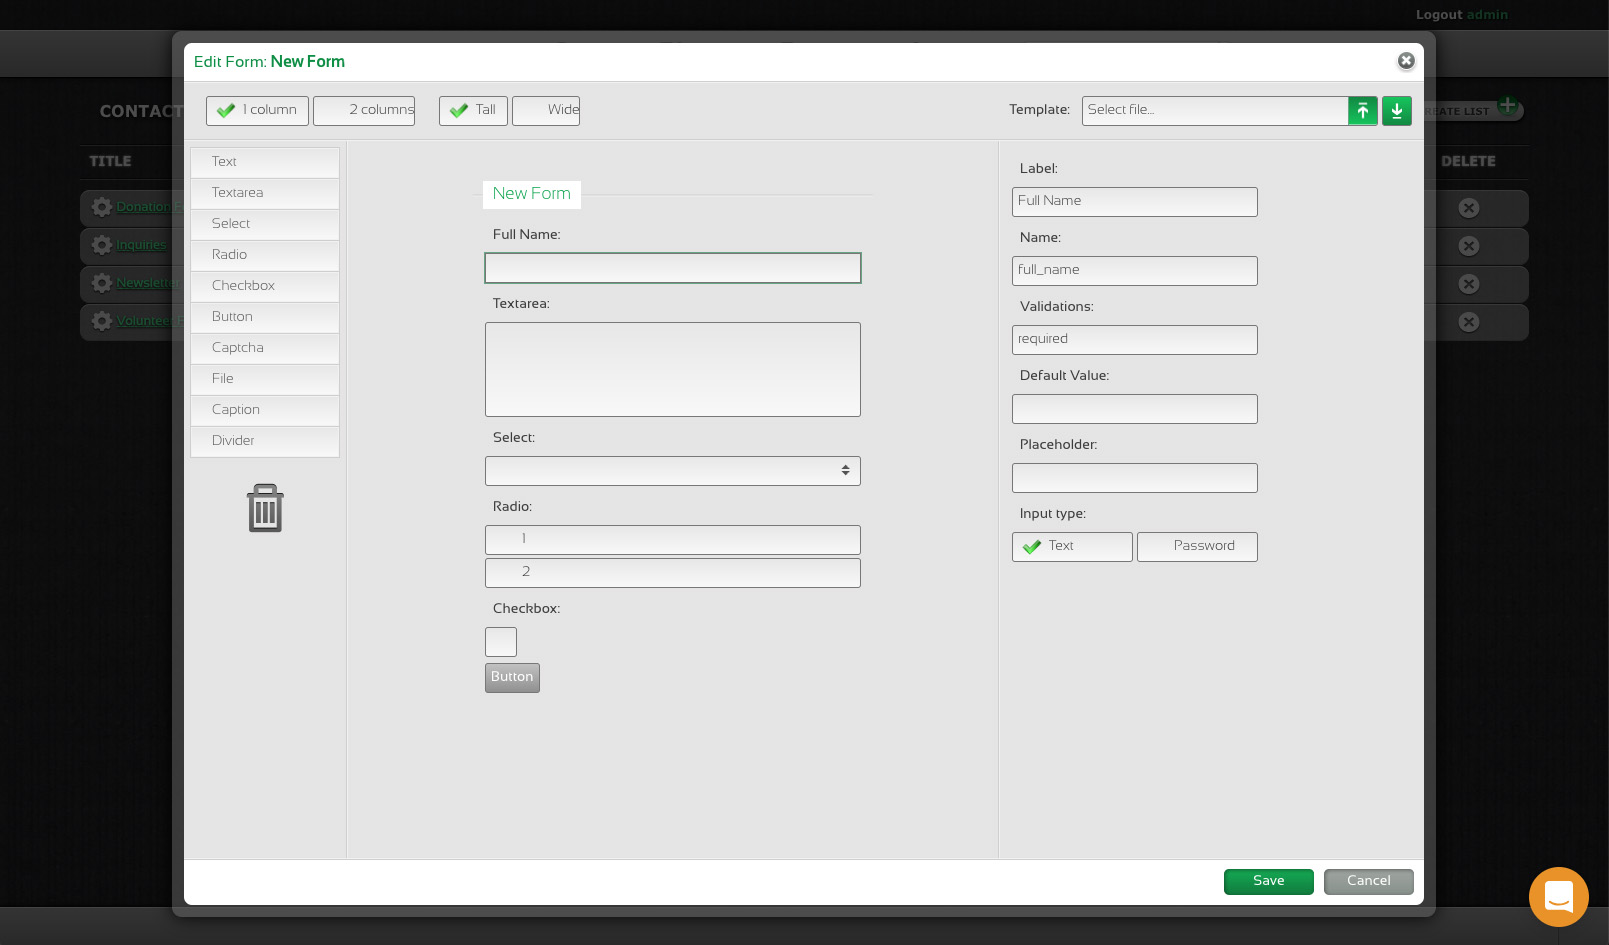
5. Click 'Save'
6. Next, go to the page where you would like to add the form
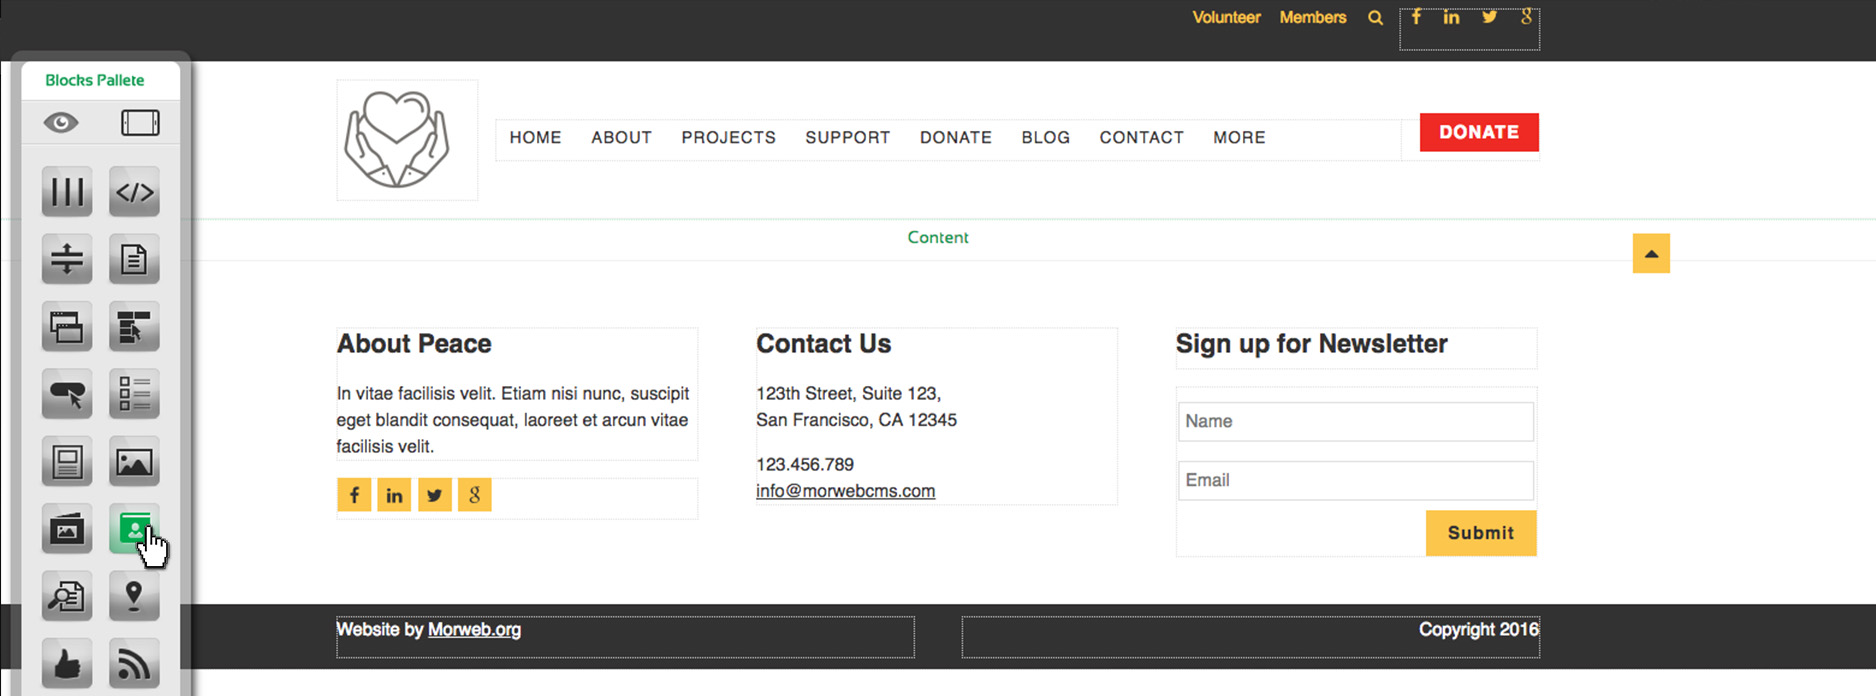
7. Drag and drop the 'Contact Submission' block to your page. A pop-up editor will appear
8. Fill out the fields in the pop-up editor
Submit to List: Select which form you would like to add from the drop-down menu.
After Submit Message: You can write a message that will appear once the form is submitted or add a link to another page that they will be redirected to upon completion. For example, you may want to redirect to a custom 'Thank You' page /thank-you for those who complete your donation form.
Confirmation Email: You can set up a confirmation email that will send to anyone who fills out your form. Contact our support team to create this type of email.
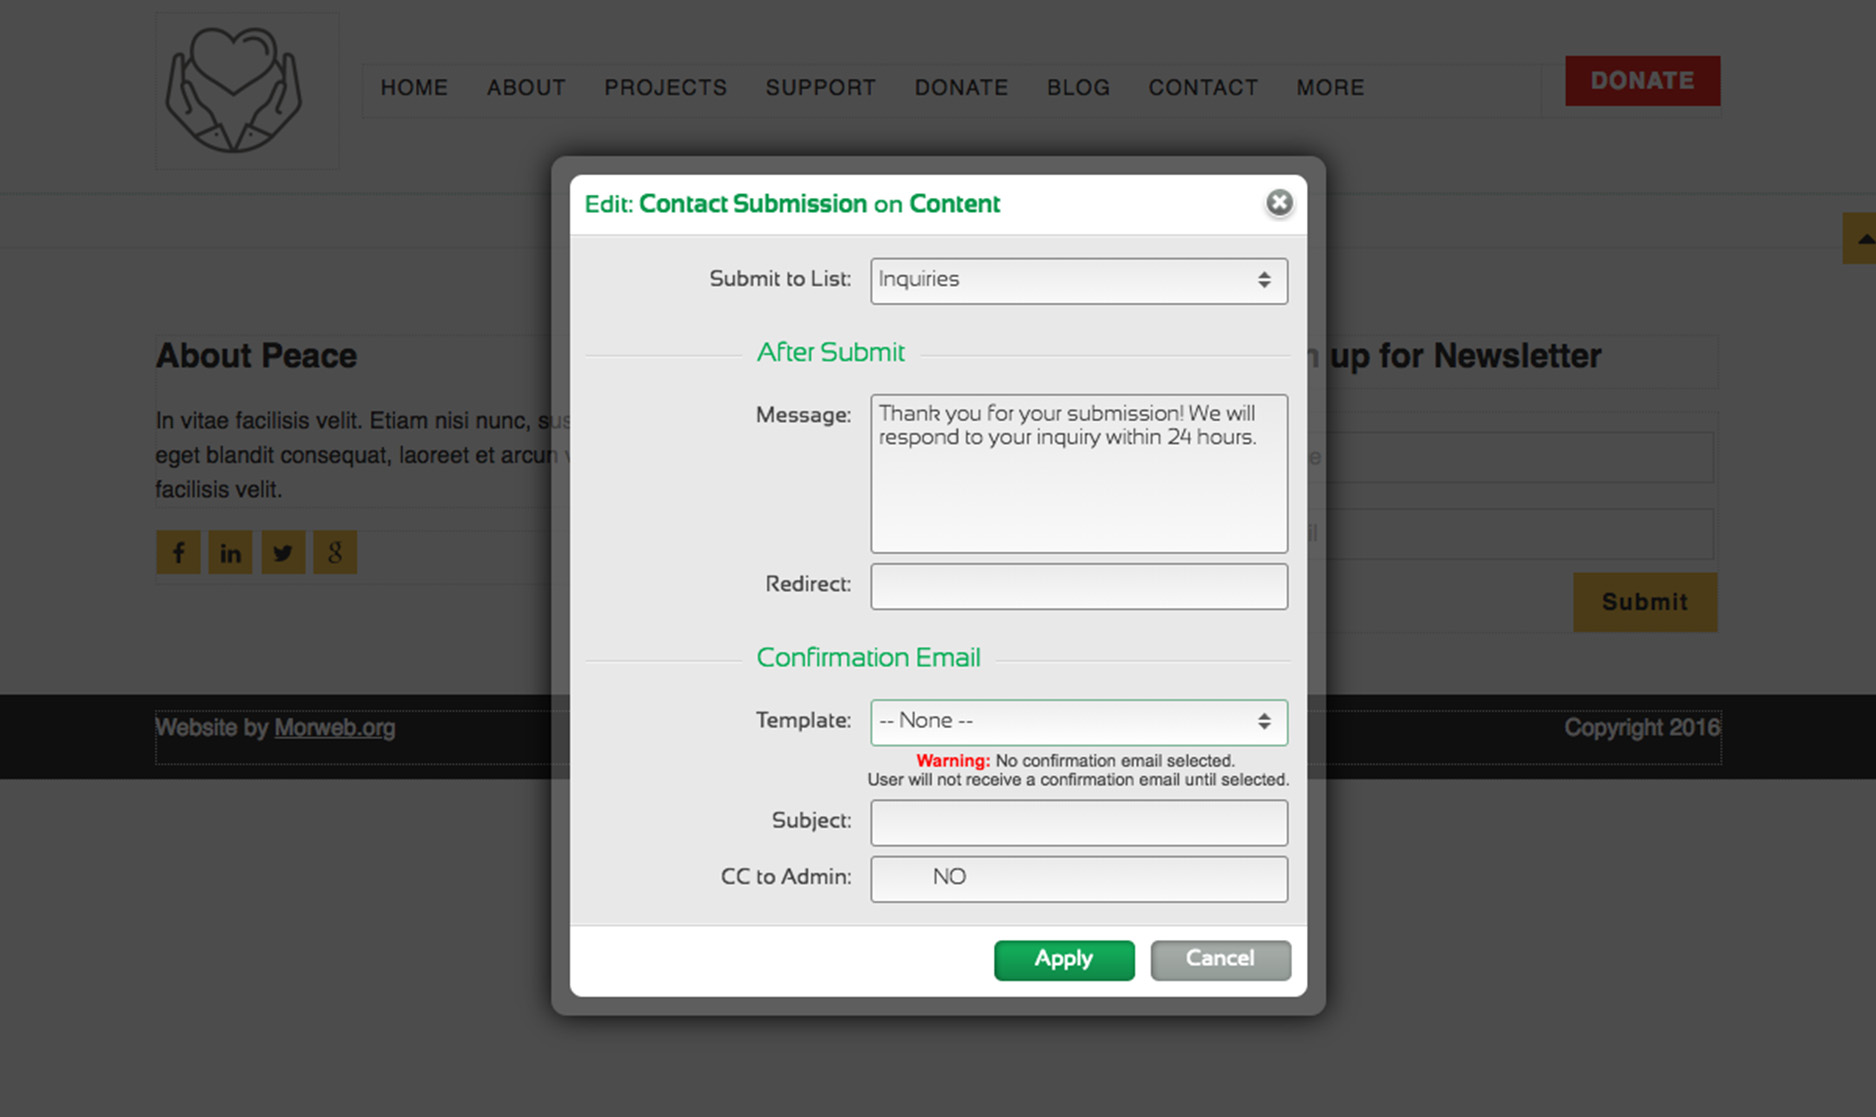
9. Click Apply
10. Test your form. Ensure that it records correctly in your Morweb submissions, email confirmations and CSV download.